2012-07-30

Rally West Virginia Trophies.

I have a friend I have met through rally Bill Caswell.  He has a polarizing affect on people.  He got laid off from the financial industry a few years ago and has been having some adventure since then.  He has Rallied all over the US, talked his way into parties of the rich and famous, and put stickers everywhere much to the chagrin of many car owners, hotels, bars, and governments.  I may not agree with that portion of what he does, but he puts a lot into promotion. Much of it self promotion, what he does behind the scenes rarely is mentioned as much as a sticker in an authorized place.   What he does to improve the Hobby (it's not sustainable, so it isn't an industry) that never gets publicized.

He asked me to help with a project on Wednesday afternoon a week prior to Rally West Virginia.  He was tasked with making trophies for RWV and had a short time frame.  At my day job we work in a fast paced prototyping environment where we "Quote in hours, Parts in days."  He was having issues with extracting cutting data from the graphic of the event.  I work with Spaceclaim during the day and knew it would make the design very easy.  I was not able to get to it until Friday afternoon after work but took in the data and quickly went into the design.  The image was junk as far as extracting data.  The edges were not crisp enough for automated tools.
The original Graphic for the rally


I imported the image into Spaceclaim and started to put some geometry to the original graphics.  I am used to designing for a CNC Laser Cutter so adjusting design for Waterjet would not be that hard.  Bill mentioned they would be for three places with three classes so I tried to do something that would pay homage to classic cars of yesteryear.   This is what I came up with for the first iteration
I had everything layered where all the items would be fastened to a black background  this would look pretty good, but assembly would be a pain.  You could just double stick the letters and layers together, but making sure everything would end up in the correct place.  Originally, I was going to do the fabrication at MakeIt Labs on the CNC plasma Cutter and powder coat everything.  I did not have the time to do the fabrication, so I spent a little extra time making it easy to manufacture by whoever Bill would have Jet cut it.  I inverted the color scheme so instead of twenty five separate parts it could be made with five.  

Connecting islands

When doing anything in a 2d single point cutting system (water jet, CNC Plasma, Laser, Router) it cuts along a tool path generated by the DXF.  If you have things that float, like the center of an A or R, you can either cut it out as a separate part, or make a bridge.  This is a delicate process that is reliant on experience with a specific tool.  In the case of Waterjet, it puts a large amount of force on the part if the bridge is to narrow and can blow it out.  If they are made separate, your often are fishing for small parts in the water catch.  

Assembled trophies. with color.  
I then broke out the backing so the outside had a boarder of yellow and the year circle would be broken off.  I pulled through holes for assembly so it could all be easily pop riveted together.  I used this to make sure everything is in the right place and it has a race feel to it.  I sent everything as separate files so all the components could be cut out easily.  
Expanded view of the assembly.  
I sent it all over to Bill and hoped everything would pan out.  

A week later I got this text and was super happy with the result.  The delivery constraint made powder coating or anodizing impossible.  Polished and assembled, they look fantastic.  

The finished product in Aluminum 


Steps and a single roof truss.

It's been a while.  Not a whole lot of progress since the last post, I have been busy with school and work.  Without Libby I think I would have lived on Rockstar Energy drinks and Jr. Bacon Cheeseburgers.  I have had to postpone the last two trips up to camp to take care of school work.  Libby and I have been working on and off building up more components for the cabin.  This post will not have many links due to my time constraints of school and work.

Where we last left off, we had walls up.  Cutting the radius onto the rafters has been a tougher task than we had thought it would be.  I had planned to laser cut out the two rafter size's into patterns but the machine was just to busy with actual work.  I ended up cutting patterns in Masonite using pattern transferring like they did in the old days before computers.

Using geometry and a sketch, I figured out what the thickness would need to be every 12 inches.  
I put a screw at every intersection of layout lines.  

Using an aluminum piece of stock, I estimated the curvature based on each measurement.
I wanted some steps for the cabin, so I came up with a set of steps that curves with the path.  


Frame setup and steps mocked up for height   

Libby testing for comfort.  

Making steps one at a time in the morning.


Finishing up the frame for the last step.   
This is me under attack by bugs.  

My little sister thinking about her next Scrabble victory.

I have been working on transportation of tools and planning to improve or time working, and less time organizing.  

Building the Composite Beam

One side

Full view.  

We may need another step or two.  

For putting the beam up I tied the two sides together so it would be stiff for lifting.  


Joe and marry helping lift the beam up.  Lifting it with the point facing up had already failed at this point.  Joe came up with the plan, to lift it up and use a dead man to put it upright.

One end up!

A system that sort of worked, we had no way to keep it stable for fastening.  

Adding bracing so we had a lever to keep everything stable while fastening.

Libby looking through the board with handles.  

All non essential personnel had to leave for safety while we did the beam raise.   No photos of the beam going up, but it magically worked thanks to Joe and Libby's input.  

Screwing everything together.  

The corner joint.  Everything fit like it should.  Kind of amazing. 

Joe making things happen.  

Stabilizing frame in temporarily until we get everything tied down.  

Mary looking at how awesome it is.  

Our guest Photographer for this build.  It was her first time and I think she did a great job.  She also put in many of the screws for the stair treads.

The view from inside the cabin.

View of the beam detail.  

JB and Betty hanging out on the new steps.  

A view of all the work over the weekend.  Steps, and headers.  We did not get to the front header because we ran out of construction adhesive.  


Well, plugging along and I am almost done with my class.  We can then kick it up a notch with fabrication and sourcing to get her finished off.


2012-07-02

Play 4 Life

Staying healthy is something I have struggled with for years.  I love cheese, fried foods, meat, and snack foods that are easy at the gas station.  I enjoy drive through food an energy drinks.  At one point I made it up to 350 pounds and would get winded walking up stairs.  At that point, I started buying sugar free energy drinks.  I lost like 10 pounds.  I started going to the gym on and off at work out world.  I would finish up and go grab something to eat at taco bell and dropped down to around 325.  At this point I saw a friend of mine Tyler who had gotten fat while at college (not as fat as me) and was now in good shape.  I asked what he did and he talked about a friend who opened a new gym with something different.

I hit it hard and started going doing boot camps and improving by leaps and bounds. On day one, I could not do a sit up, I could not do an air squat.  A plank was not conceivable, let alone a push up.  I am still not able to do a pull up, or a dip un assisted but, I am still working on it.  I found a new passion and community with John, Tyler, Doug, Greg, and a few others as we walked in together and pushed as hard as we could.  I started hitting little goals.  One day, I could do a full air squat.  Then I was able to do sit ups.  Push ups came next, and I noticed things like a shirt had more room in the gut.  We have fun.  I like flipping tires, hoisting atlas stones, and dead lifting big heavy weights.  My girlfriend Libby would come with me and it was our routine.  We would go to the gym, and then make some healthy dinner and go for a swim out at Rocky Pond.

I saw the other side of 300 pounds for the first time in years.  I was to the point of being able to run a mile before I messed up my knee on my birthday this year.  Since then I had some issues with my kitchen at home which made making food a pain in the but and ate out way to much.  I gained back about 20 pounds which I doubt was muscle.  Since Libby has graduated, she has helped us to eat some better food and prep meals as well as iced tea.  The fact I have not had a heart attack in the past year is likely her doing.

While I had time trying to heal my knee, I have been doing some research on calisthenics.  It costs nothing to do, and prisoners use it to not die.  Nashua doesn't really have anywhere to do this aside from using children's playground equipment.  I watched the video's from Barstarzz.  These guys are insane and doing these things without fancy gym's, just dedication and a pull up bar for the most part.  I started doing push ups, sit ups and air squats at work while I waited for files to load.  I can only do so much with my knee, but something is better than nothing.  

Then Sunday morning, I saw a post from a Facebook friend Mike linking to an article from the New York times.  I read it and new Nashua needs something like this.  We need a park with equipment that is meant for working out.  Someone should make one.  I realized I could be someone.  I have plenty of contacts through work and my after work activities at MakeIt Labs to help get things donated.  I have skills with design and should be able to figure this out.  I looked at some commercial equipment and it all looked great.  Strong and would do what it needs to do.  It is very easy to fabricate and pretty vandal proof.  It is just not pretty.  I want to make something that you show up to and you want to do a pull up.  It should look like it is meant to be there and integrates into the surrounding landscape.  

After very little thought, the site should be Mine Falls park.  I lived down the street from it when I was a kid. I rode my bike to My first job at Aubuchon hardware.  I walked to High School every day before I could drive.  I rode in my first bike race around the loop.  It holds lots of memories and I would love to give back. I am just starting this project so many things like actual viability are unknown at this point.  

I like the idea of a trail of workout stations.  I have seen them before, you go through and hit numbered stations as you move to try and hit all of your muscle groups.  Wikipedia has a good article on it http://en.wikipedia.org/wiki/Fitness_trail

Doing anything for public installation has a few design criteria.  I am unsure if a formal list exists, but this is what I would use.  

1.  Super strong.  Something that can withstand large force without deflection.  Overbuilt = just strong enough.  When you let the public touch anything, they will find a way to brake it that you never came up with.  

2.  Bolted down.  People steel anything so anything that needs to move should be fastened in such a way that removal is very hard without a cutting torch.  

3. Resistant to being defaced, easily repaired.  It should be hard for someone to damage it with a knife and good looking enough were people would prefer to do a pull up instead of carve a word into it.  

4. Low maintenance.  I want to make something the parks department has very little work to maintain.  

5. Low environmental impact.  For the entire project, I want to try and use recycled material when possible. Steel beams I will try and source from local recycling firms.  Wood, from local tree service folks.  I want to use something with an organic shape.  I would like for everything to work with the surrounding woods, not stick out. 

I modeled up a traditional outdoors pull up station.  Very functional, cheap to manufacture, and easily available.  

This is what a normal station Might look like, A few heights and allow you to do a muscle up.  
So this would work, would be very easy to make and not to expensive.  I want to make something that a  Disney Imagineer  would be proud of.  I was watching the Modern Marvels on the tree of life and the cool things they did.  


It will take lots of design work and some artistic input to make all of the stations, but this is what I have an idea for just the pull up station.  


So this is what I think a pull up tree should look like.  
It has multiple stations and allow for different height folks to work out at the same time.  The supports should be high enough to allow for a muscle up.  It uses an I beam as the main structure, which will be way above what is needed for strength.  This would able to be fabricated off site and trucked in for installation.  the majority of it would be welded so no fasteners to be removed and items to be stolen.  Now the hard part is coming up with what other equipment is needed and how to make it look awesome.  

Stations I want to incorporate:
Dips


Rings


Row


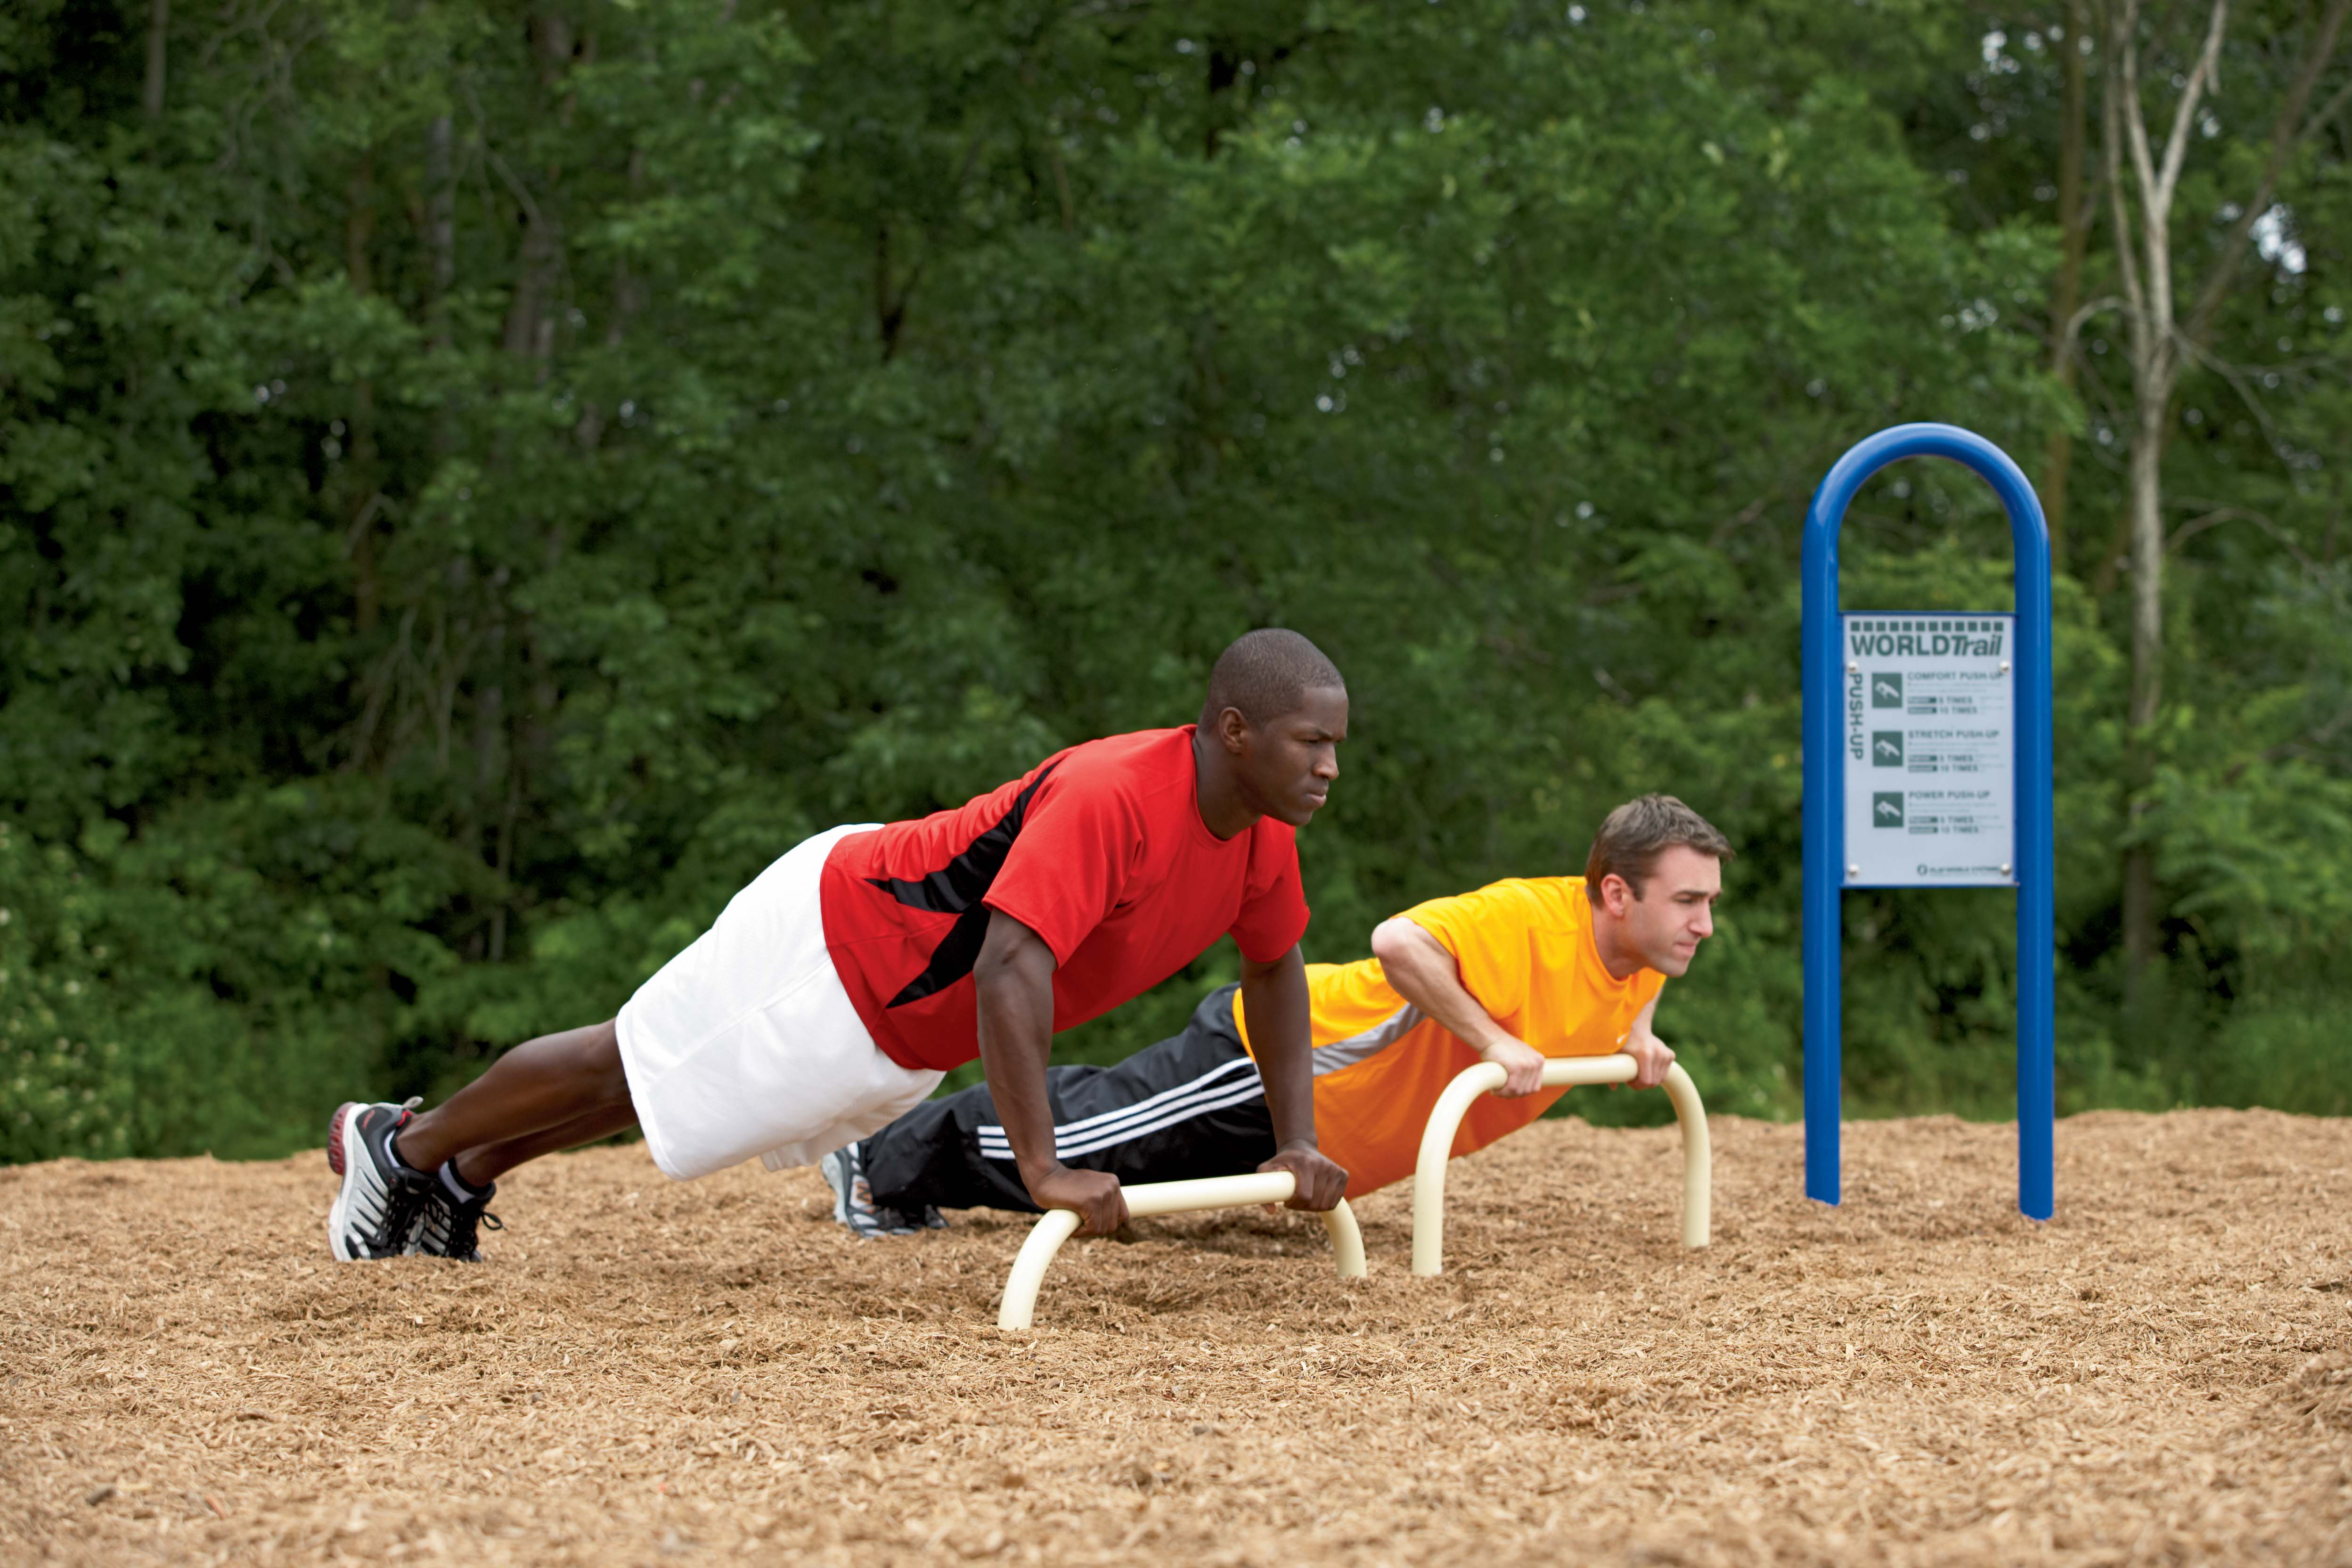
Push up bars


Monkey bars 


Please put what else you would like to see in the comments.