We were going to go up this weekend and do some site prep and delivery of material. I called an audible on Friday and we stayed home to do some more construction work and Libby is finishing some school work before she closes out her last semester for grad school.
Thursday at work I saw a post on craigslist for shingles at 10 dollars a bundle. I called up Earl and swung by on my way home. A quick pit stop turned into a 3 hour lesson on how to roof a house and how to deal with the unique features of the roof. He did not believe 4 square would fit in the Subaru. As usual, the Subaru was up to the task. He had a trailer under a pile of junk he negotiated down the price of. I offered him 50, he countered with 40. By the time he was done negotiating, he got me down from 190 to 140 for 400 sq ft of roofing. We got 5 different colors so Libby is going to make a pattern in the roof. I am thinking of going back to try and get some mismatched shingles to go up on the lean to. We picked up some 6x6 Pressure treated timbers and brought them to
Make it labs. At dinner we had a critical desisgn review.
 |
| The Composite beam that went across the ceiling obstructed the view. This is the older version of the cabin. |
I did not have any 4x6 beams that were 16 so I came up with a way to use the 13 foot beams and plywood in a way similar to the Lean To we constructed last year. I thought it was a good solution that allowed us to not have to buy a long beam. It also makes transport simple. That is something we always have to keep in the back of our minds when making components. We were doing some searching for the
wall lamps and found an awesome version that allows a
chandelier. In order to do this, we would have to do some re design of the interior 16 foot beam.
 |
| The composite Beam assembled. Two 13 foot 2x6's I got from a pallet and some slivers of 1/2 inch plywood. This gives us a 4x6 form factor. |
I spent a few hours in
Spaceclaim coming up with a new beam that gives us a better sight line and puts the chandelier above my head.
 |
| A composite beam to be constructed up north. It won't be as strong as a straight beam, but will make the interior look better. |
I went to construct it today and had some issues with cutting angles without a protractor. I couldn't verify anything so I gave up for the night. I spent some time measuring angles and was able to find where my confusion was. I measured 52 degrees for the angle for all of the joints that are not the peak beam in the computer model. When I cut with the chop saw, it only went up to 45 degrees so I figured I would do all the 38 degrees first. Once I did it, nothing looked right. I realized after I went inside and cleaned up, I was cutting the angle backwards. I then took a few minutes to make a construction layout of parts for the beam.
 |
| I decided I would make a manufacturing sheet for the 2x6 beams. When I go to construct them it will allow me to cut up all of the components easily. |
 |
| I had a strip of plywood left from the previous beam design which I used to make the joints stronger. |
So now I have some work for tomorrow. I also need to grab a protractor so I can actually measure things. We will do an assembly with a few screws just to test it. When we start construction on the larger beams, I will do the same manufacturing information. Looking at the over all roof construction it should be plenty strong.
 |
| The headers are all 4x6. The laminated beams together make up the rest of it. The main beams in the roof on the peaks and suports are laminated from 4x4's to give the peaks a 4x8 (3.5x7) effective beam size |
 |
| The rafters and other roof structure together. |
 |
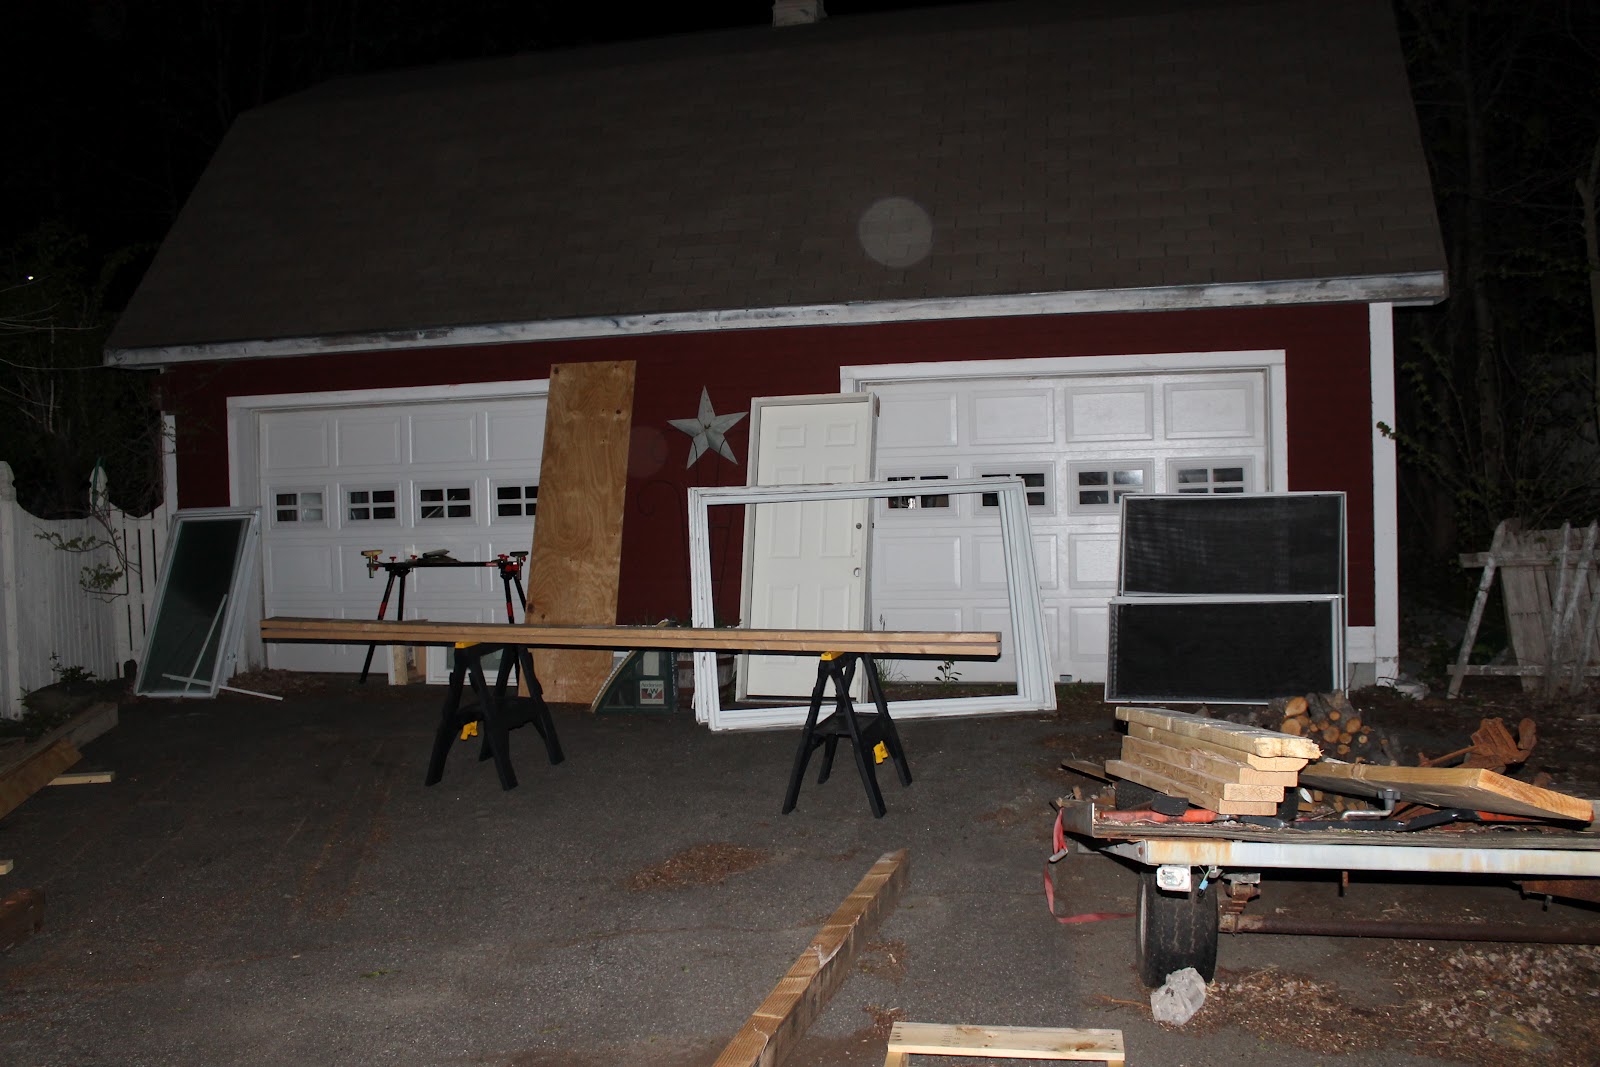
| all of the headers cut up and ready to go up north. The only one left is the funky angled beam that I could not figure out tonight. |
 |
| Lots of stuff.doors and windows. |
All of the walls will get a 5x7 windows I found cheap on craigslist. Double pane 3 section sliders with screens. They were 30 dollars each which ends up costing less than sheathing with plywood and whatever siding we will eventually use. When we picked these up on Friday, I was checking out the pallets at the sheet metal shop. They are 10 foot long and have big long beams they range from 1.5x3 inches to 4 by 4 inches. With the amount of material they go through I should be able to salvage studs from pallets in a few weeks.
 |
| The cabin beams layed out in the driveway. all set up, tomorrow Libby and I will test fit flooring. With any luck, we will have enough material to cover all of the floor. |
I have Been e-mailing back and forth with Jim about what works and what doesn't at camp. With some input, we have decided to add 2 inches of foam insulation. I found a bunch of sheets cheap on craigslist so this will go in during construction. I will have it on top of a .5 inch sub floor. this construction should make for a very strong floor unit and also keep some elements out.
 |
| The base is 1/2 inch sheathing. Then 2 inches of Foam and the top layer is 2x8 and 2x10 recovered lumber. |
It is nice to be able to move things around digitally before cutting anything or committing to it. I am pretty close to being done with the design, Libby is still adding ideas and features which may require some more design, but most of the over all design is done. If anyone has any recommendations, Please let me know in the comments.


No comments:
Post a Comment